Thursday, October 10, 2013

Free Pet Themed Halloween Printables

Here is your second round of free printables from us.
 
These two are special, they were made by a very wonderful, and talented friend of mine. She is going to the Art Institute for design and she made these for us to use. Thank you Sandra for creating such cute printables!!!
 
These can be printed up to 5X7


Thursday, October 3, 2013

DIY Pumpkin Cat Toy Tutorial


 I know we put a lot of dog tutorials on here so I just wanted to share the love with all of out cat owners out there. I too have cats and they love toys so here is a quick DIY tutorial for a Pumpkin Cat Toy.
 
What you will need:
- Rotary Cutter and/or Scissors
- Felt
- Cardboard square
 
I have two small scraps of felt here one orange and one green. You will a want to cut your felt into long strips that are about 1/2 inch thick and about 8" long.

 
You will want to cut about 10-15 strips of orange and 2-3 strips of green.
 
 
Next, you will want to get a piece of cardboard about 3x3 or in my case I used an acrylic stamp block.
 
You will want to start wrapping the green in the center and then wrap the orange around that until you have used all your felt pieces except 1 orange one. Wrap your felt tight enough but not too tight that you can not slide the felt off the cardboard.
 
 
Carefully slide your wrapped felt off the block and tie your remaining felt piece around the center of the felt. Tie this off as tight as you can and then grab your scissors.

 
You will want to use your scissors to cut the loops on your ball. This will make it puff out and become a full ball. You will have to pull some of the felt a little to shape your ball or you can hold one piece and shake it a bit to fluff it up.


And there you have it. Quick and easy! I hope y'all love our pumpkin tutorial! Happy Halloween!
 
 
AND we have a winner!

Thursday, September 26, 2013

Easiest way to clean a Kong inside and out!


Whether your dog has separation anxiety, you use it for fun or to keep them busy while you are at work the Kong is a great toy for dogs! However, it is not always the easiest to clean. We usually fill ours with pumpkin, yogurt, or peanut butter and it is hard to get the inside squeaky clean.
 
Keeping you Kong clean will reduce bacteria and keep your dog from getting sick, even the smallest amount of bacteria can cause stomach upset.
 
So here is my quick and easy way to clean a Kong in less than 5 minutes!
 
What you will need:
-A dirty Kong
-Dish Soap
-Baby Bottle Brush
-warm water
 
During my last trip to the store I was with a friend who had kids and we were strolling through the baby isle and there it was! A baby bottle brush!
 
So here is what you do, run some warm water, soap up your brush and start cleaning the inside of your dirty Kong. It is best to twirl, pull in out and as well as make circular motions around in there just to make sure you get all the leftover stuff out.


You will want to do this a few time and rinse out your rush between scrubbings. Reapply a dab more of soap if necessary.
 
Also, depending on which brush you get it may also have a smaller brush hidden inside the base of the bigger brush. You can use this smaller brush to scrub the top opening of the Kong.


After your Kong is squeaky clean inside and out rinse it off very well. Left over soap can also cause our pups to feel ill.
 
Once it is washed and rinsed set it aside to dry or you can refill it right away for more fun!


Sunday, September 22, 2013

Free Howl-Oween Printables

 
I love decorating this time of year! I have created a FREE Halloween printable for you to use.
 
It is easy to print off and put in a frame. You can shop the dollar store and decorate it yourself or you can purchase a pre-decorated holiday frame.
 
Enjoy and Happy Fall Y'all!


No Tricks, Just Treats! Doggy Bag Tutorial

 
Lets face it, Halloween is probably not our pets favorite holiday. We force them to wear silly costumes, parade around the neighborhood looking ridiculous and being tempted by treats that are potentially deadly to them. I am sure it ranks right up there with all the New Years and 4th of July fireworks.
 
So, with all this bad press we are giving Halloween lets make this day a little better for our 4 legged friends.
 
 I made a few of these bags to hand out to our 4 legged trick-or treaters this year. The bags are super cute and the best part is they are filled with yummy dog treats!
 
Here is a tutorial so you can make our own bags for your 4 legged Trick-or-Treaters.
 
Here is what you will need:
-scrap fabric
- scissors
- pins
- sewing machine
- iron
- printer
- iron on transfer paper
- ribbon
- threader
- dog treats
 
First, you want to select your fabric. I had some scrap fabric around and decided to make the most of it. Just keep in mind you will want your iron on image to stand out against the fabric.


I folded over my scrap fabric and cut it to 8" by 7". Then you will want to fold it so the right sides are facing each other. Sew up the sides only and leave the top open. When you are sewing up the sides leave about 2" un-sewn at the top. (See photo below)
 
 
Next, You will want to sew your raw edges at the top of your bag. Turn in each edge and make a simple hem on all 4 pieces. You can skip this step if you like but it will make your bag look nicer and more "finished."
 
 
Next you are going to make a fold over at the top that will allow for the drawstring closure.
Keeping your bag inside out, fold over the top and pin it all the way around. Then sew around the bottom of the fold. Make sure you allow for enough space to run a ribbon for your drawstring.


Then flip it right side out and check out your handy work!
You're almost done!!


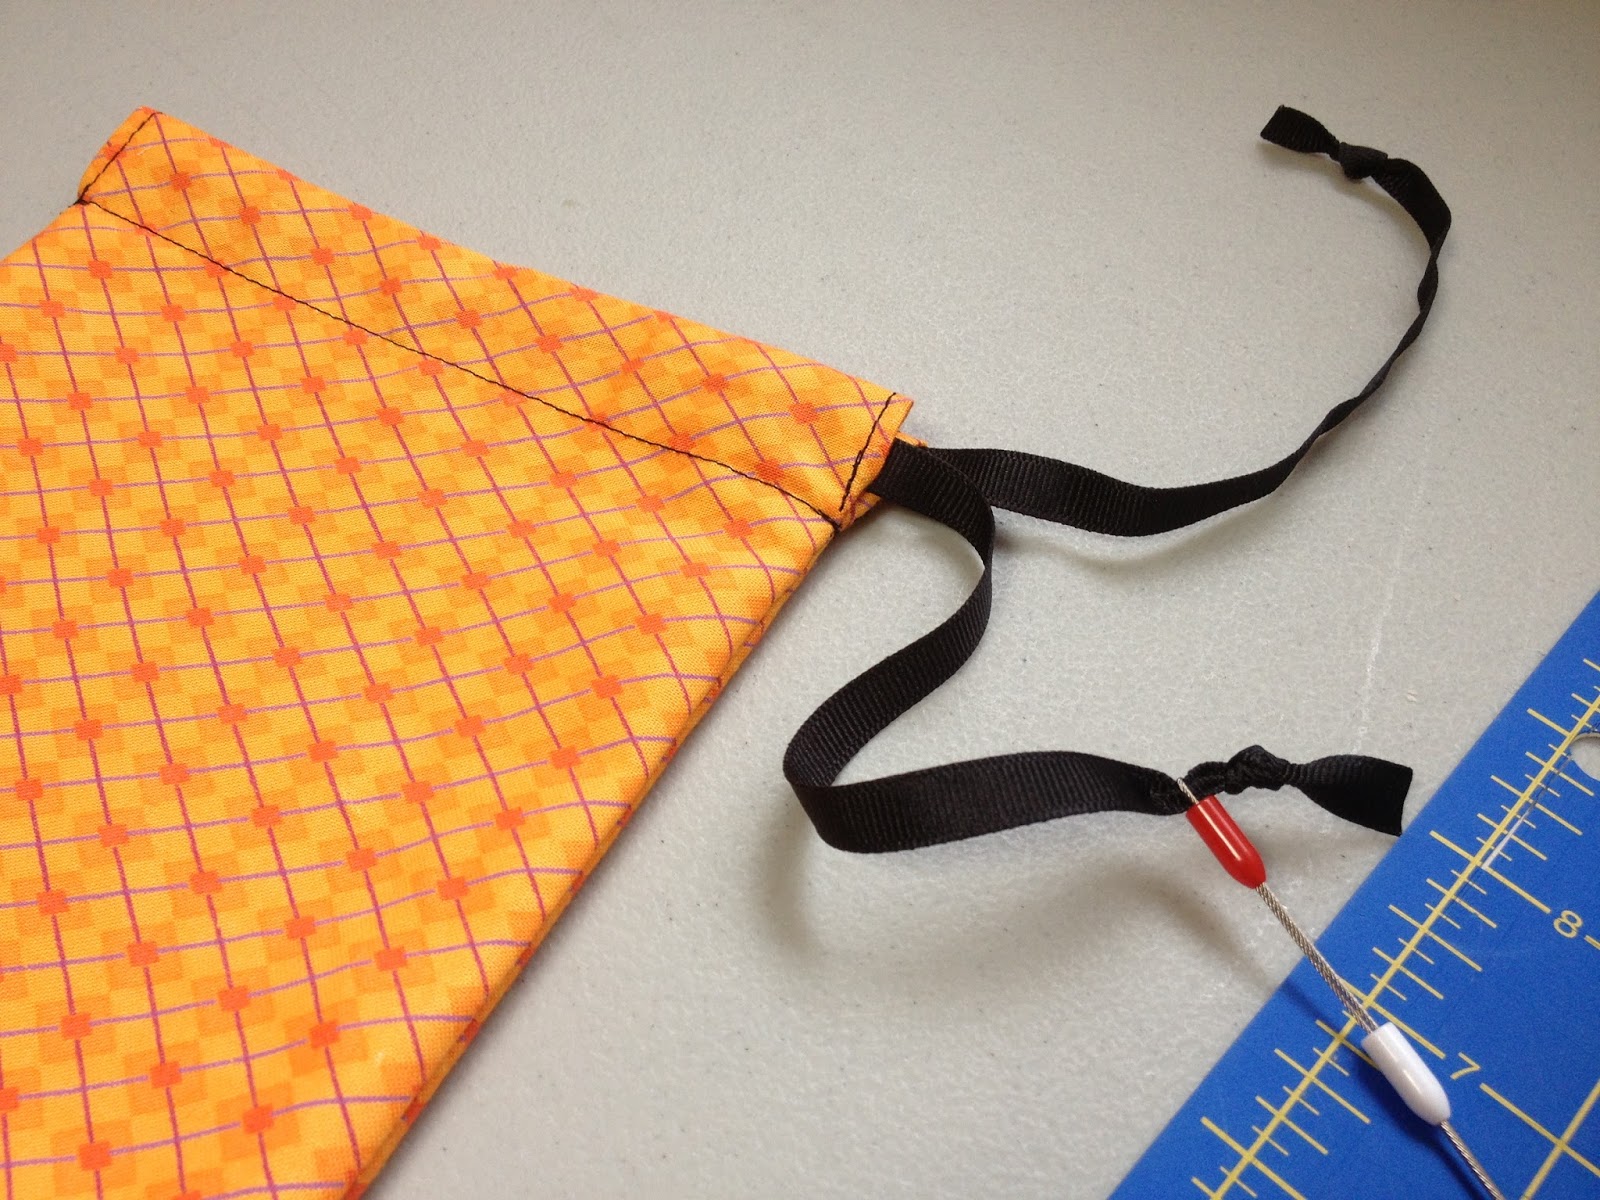
Next, you will want to run your ribbon through your bag. If you have a threader you can use it now otherwise get a safety pin and pin it to the end of your ribbon. This will help you run your ribbon through the bag.
 
 
Lookin' good!
 
 
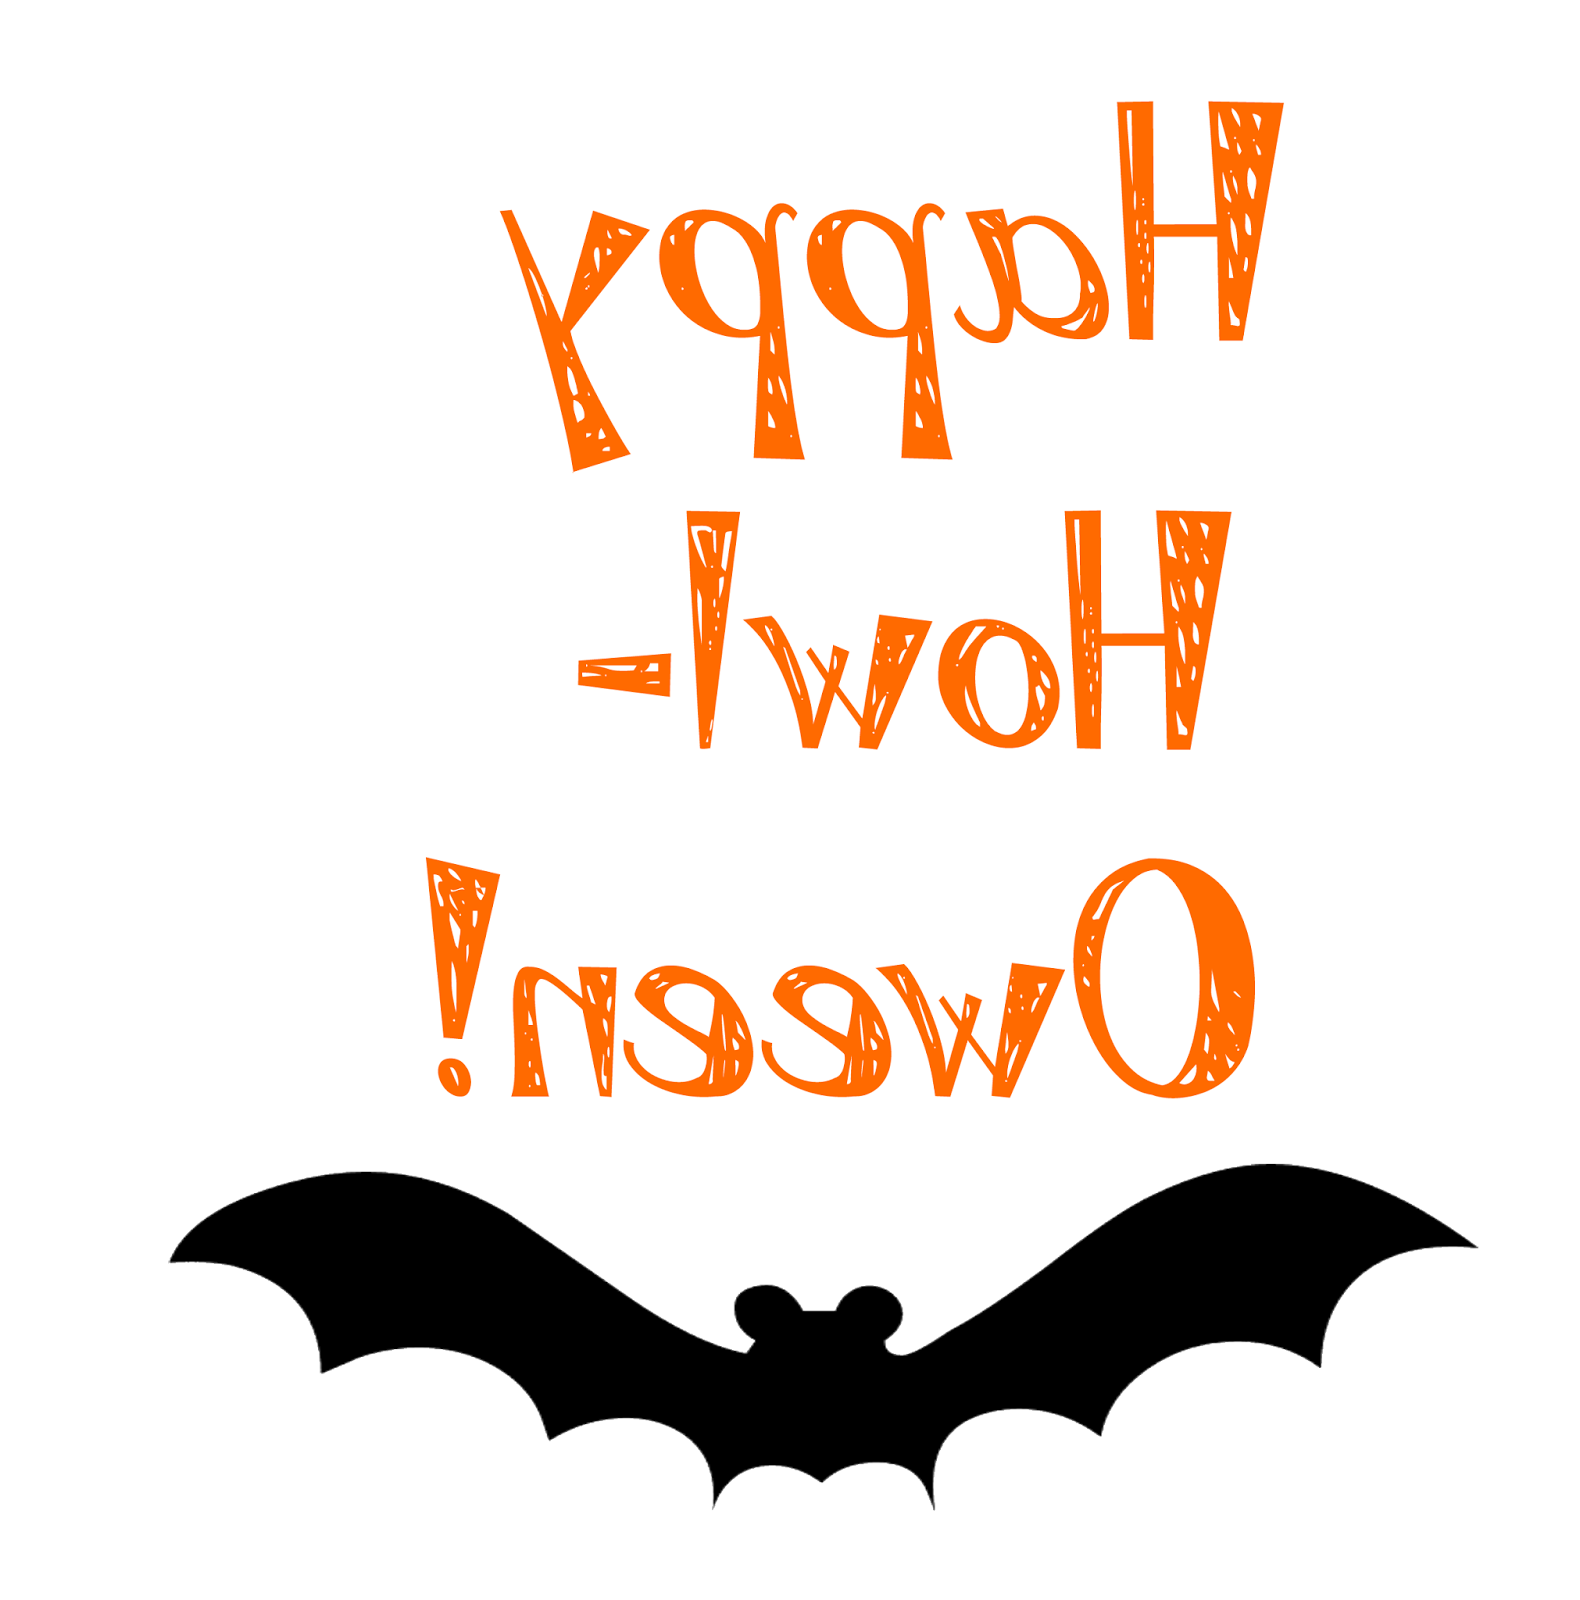
OK, now you will want to run a warm iron over your bag and then move to your printer. You can create your own image or use either of the two I have created for you. It is always a good idea to print on a piece of paper first to make sure it will fit onto your bag. Also, Make sure your image prints backward so it irons on correctly.


Once you have everything fitted go ahead and print out your image onto your iron on paper.
 
 
Here is free image #1


Here is free image #2
 
 
Then carefully cut it out as close to the image as possible. Follow the instructions that came with your iron on paper and iron on your image.


Once the iron on paper has cooled carefully peel off the paper and you will see your masterpiece!
 
 
Now that your bag is complete you can fill it with homemade treats or store bought ones. I filled my bag with dehydrated Sweet Potato Chips for our allergy conscious friends.


I hope you enjoyed our little tutorial!
Happy Fall Y'all!